


As the most visually striking element of most kitchens, the backsplash is crucial to its overall aesthetic. However, not everyone realizes they may save money by putting in a little time and effort to install the backsplash themselves. A little bit of sweat equity in the kitchen goes a long way. This article covers the fundamentals of putting a backsplash in your kitchen.
Resources and Equipment
There are, as might be imagined, a small number of things you’ll need to execute this surprisingly simple task and enhance the aesthetics of your kitchen. You’ll need a set of goggles, a tape measure, a level, a tile cutter, tile nippers, a tile saw, a rubber grout float, and a notched trowel.
Backsplash, latex gloves, plastic washer screws, waterproof mastic tile glue, and waterproof grout are all necessary for your kitchen remodel. Always order 10–15 percent of tiles if any are damaged in transit or if you need to patch any gaps.
Guidelines for Mounting a Kitchen Splashback
If the drywall behind your counters is rotten or otherwise damaged, you should fix it before starting the project. Installing sealed tile on the ceiling might hasten the development of condensation or rot in the drywall, wood substructure, etc.
A backsplash should be the first thing to go if it is included in your kitchen layout plans. Be cautious about turning off the power to the area before attempting to remove it. Then, take off the covers from the plugs. Before installing the new backsplash, clean the area with warm water to remove any dirt, dust, or debris. Please wait till the area is completely dry before proceeding. A fan or dehumidifier can be used to hasten the drying process.
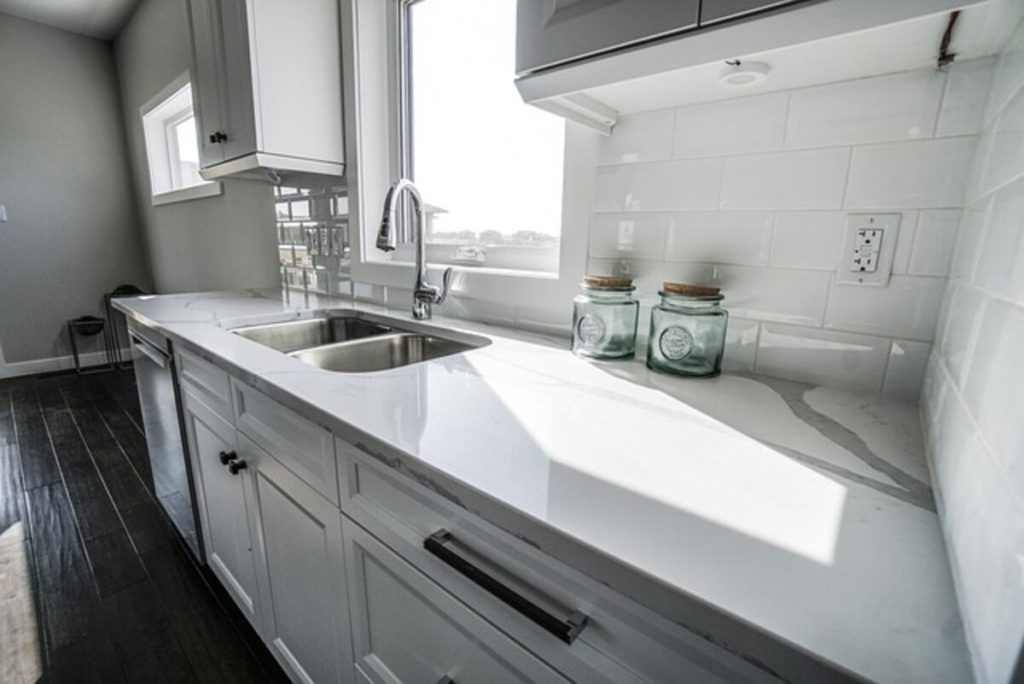
The adhesive can be spread on the wall using the notched trowel. The glue should be spread over a nine-square-foot area, and the trowel should be held at a 45-degree angle. If you apply too much glue, your kitchen renovation plans may experience delays due to the adhesive drying too quickly.
After laying the first tile, check its squareness and flushness with a level. Continue with the tile installation. As you apply the tiles, you must insert the spacers between them. Apply more adhesive to the wall using the notched trowel as needed.
It would be best to consistently score tiles before cutting them with a tile cutter. Before affixing the tile to the backsplash, cut off the excess with a tile saw or tile nippers. Don’t scratch the tile’s finish; it will stand out like a sore thumb against the rest of your kitchen’s decor.
When you’re done laying tile, use a damp, clean cloth to wipe away any adhesive residue. The tile adhesive needs to cure for the time specified by the manufacturer. After that, you can apply the grout with the rubber grout float.
To prevent mistakenly wiping out the grout, apply it at a 45-degree angle toward the lines you are filling. By the manufacturer’s instructions, please wait until the grout has dried slightly before wiping it off the backsplash with a moist cloth.
With little practice and a few pointers, installing a backsplash may be a beautiful addition to your kitchen that complements the rest of your design ideas.
Check out Design Shuffle for some further kitchen interior design ideas.
Read also: Paint the Walls in a Whitewash Bedroom Furniture Decoration